Tag Archive for: chemistry

Spherification Potluck

There are times when gourmet edges more towards the laboratory than the kitchen; spherification is one of those times. In this culinary technique, liquids are transformed into globular semisolid gels thanks to a hydrocolloid gum extracted from seaweed. When these gel-encased balls are broken, the liquid contents gush out, akin to biting down on mochi or a Gushers candy. In theory, almost any liquid can be spherified, so the possibilities are endless. Ever wanted to eat plum juice caviar, spherical crème brûlée, or mojito spheres? With food-grade sodium alginate, calcium solution, and some creativity, it’s possible.

At the Spherification Potluck last month, graduate students Liz Roth-Johnson and Kendra Nyberg delved into the process on the molecular level. Gelation is made possible through the interaction between alginate and calcium ions. Alginate is a long, negatively charged, noodle-like molecule. When mixed into a liquid, alginate floats about freely, its elongated structure creating a thick, jelly-like consistency. Calcium ions are single calcium atoms with two positive charges, enabling each ion to link together two alginate molecules. Many calcium-linked alginate molecules gives rise to a more solid structure—the gel skin that encases a gooey center.

SpherificationLecture

Liz (left) and Kendra (right) explain the nuts and bolts of spherification.

Spherification - Options

Students brought a variety of beverages, sauces, and condiments to the potluck.

Attendees at the student event opted for items found in kitchen pantries and grocery store shelves, such as pomegranate molasses, rose water, coffee drinks, milk tea, sodas, guava nectar, and hot sauce.

In the first attempt at spherification, coffee was mixed with the sodium alginate to produce a rather thick goop. Plopping globs of this dense solution into the calcium chloride baths gave comical results, as the mixture adamantly refused to form any shape remotely resembling a sphere. Some blobs even broke upon removal from the calcium chloride baths.

CoffeeSpherification

Students prepare an alginate solution (left) and attempt to create spherified coffee (right)

Milk tea and Jarritos orange soda gave the best results in terms of shape and stability. Initially, the center of the milk tea spheres was thicker than expected, yielding a much chewier texture than bargained for. Minimizing incubation time in the calcium chloride solution managed to fix this halfway, somewhat decreasing the thickness of the gel casing. A quick search also revealed that our recipe used twice the sodium alginate other spherification recipes called for. If less alginate was added to the milk tea or orange soda, the spheres would have definitely been gooier.

Spherification - Jarritos sphere

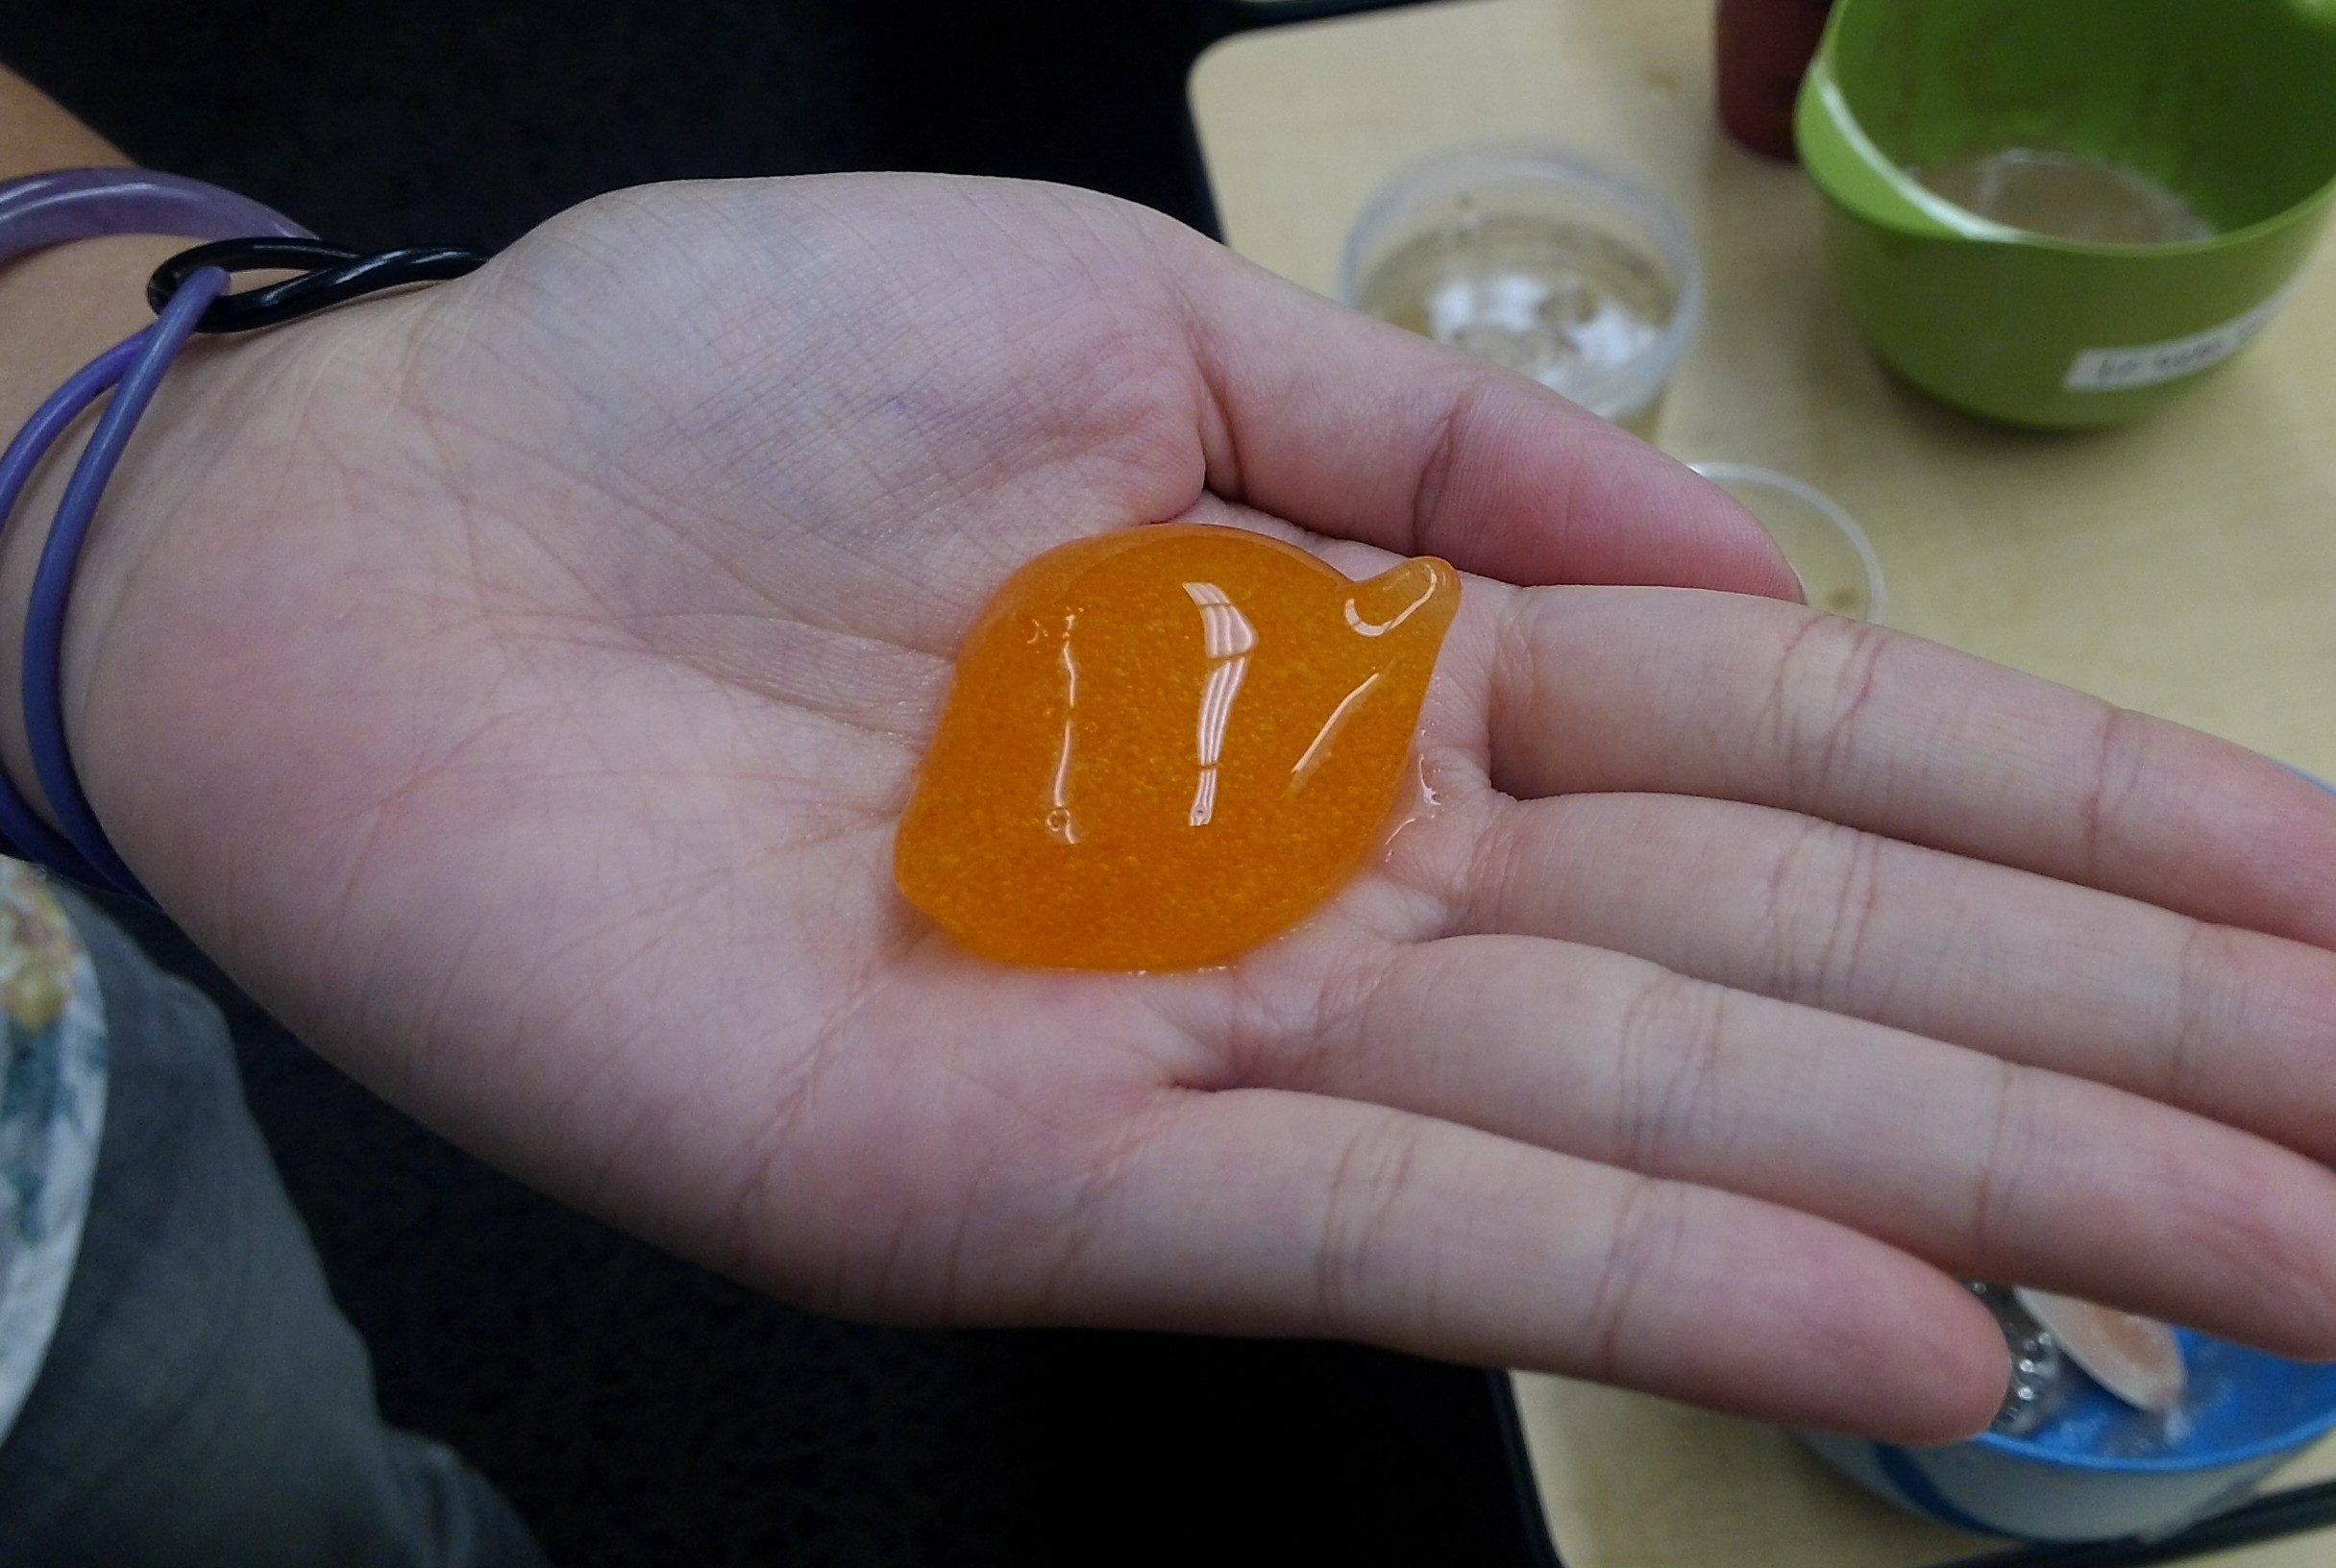
A student shows off a fairly successful attempt at spherified orange soda.

The most difficult to work with was Tapatio, and not just because of the spicy fumes that emanated from the mixing bowl. Hot sauce is acidic, meaning it is full of positively charged hydrogen ions. Mixing it with alginate neutralizes the negative charges, hampering the interaction between alginate and calcium. No alginate-calcium interaction, no cross-link formation, no gel. Dropping the Tapatio-alginate mixture into calcium chloride resulted in nothing more than dissolved Tapatio swirling around in solution.

Spherification encompasses a high degree of flexibility. Besides the gamut of foods that can be used, there are also technical alterations—the ratio of liquid to sodium alginate in the pre-sphere goop; the concentration of the calcium chloride solution; the amount of time the spheres are left sitting in the calcium solution. And this is only the direct method. Other variations on this technique include reverse and frozen reverse spherification. With spherification kits readily available online, why not try spherifying your own recipe? Share your spherification adventures with us in the comments below!

Brownie Hacks & Cookie Engineering

brownie-comparison-relish

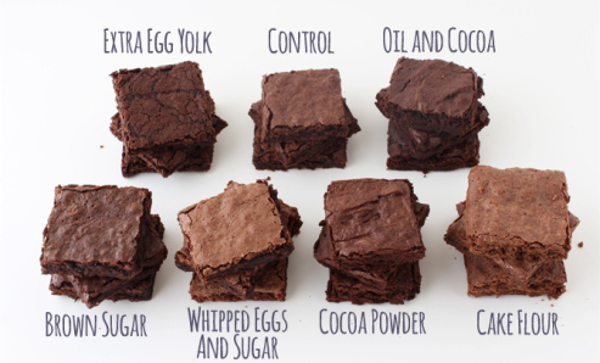
Get ready for the holidays! Check out these helpful guides to engineering your perfect brownies and cookies. Read more

WikiPearls & Dunking Science

msnose1toned

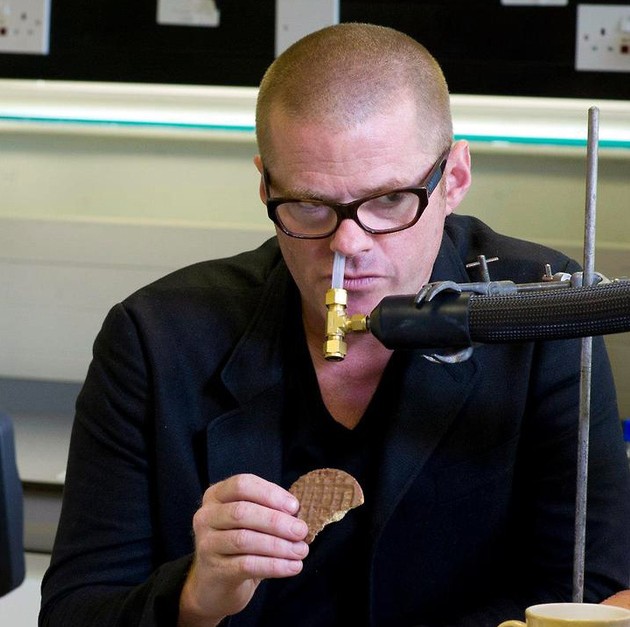
Harvard professor David Edwards creates a new edible food packaging, and Chef Heston Blumenthal investigates why dunking cookies in milk (or tea) makes them taste so delicious. Read more

Jeff Potter

A science and food geek, Jeff Potter is the author of Cooking for Geeks: Real Science, Great Hacks, and Good Food, which the Washington Post called “one of the most useful books on understanding cooking.” He can be seen on TV engineering the world’s largest donut and is currently obsessed with the science of beverages. Check out more of Jeff’s food geekery at www.jeffpotter.org.

photo by John Zich, courtesy of www.zrimages.comwww.jeffpotter.org

photo by John Zich, courtesy of www.zrimages.com | www.jeffpotter.org

What hooked you on cooking? On science?
I find it intensely gratifying to understand how things are made, and science really is about understanding how systems work and behave. Everyone eats, and almost everyone cooks, and the science behind both fascinates me. Plus, every time one steps foot into a kitchen, it’s inherently a science experiment, even if you don’t think about it that way. The amount of science that goes into the morning cup of coffee alone would shock most people. Plus knowing some science behind what you’re doing in the kitchen is one of the best instructors.
Five things most likely to be found in your fridge?
Eggs, yogurt, kale, hot sauce, beans.
One kitchen tool you could not live without?
A good sauté pan. Even a non-stick one. Really, you can get by without much at all, but one decent pan changes everything.
Favorite cookbook?
I was given a dessert cookbook years ago that was an anthology of sorts: one recipe from each of the top pastry chefs in the country. No pictures, not glossy, just a few lines on the chef and then the recipe. Every single recipe I made from that book came out amazing, and every single recipe managed to teach a new concept or idea. I don’t know if it’d stand up very well against all the food porn books that have now come out, but that book (given to me by a chef friend) was amazing for me.
The scientific concept—food related or otherwise—you find most fascinating?
That only a few basic building blocks—hydrogen, carbon, oxygen, nitrogen, and ok, fine, sulfur—are responsible for everything from bars of chocolate to a toucan flying around a rainforest in South America. The difference in complexity just one level up (molecules) from what seems so simple (atoms) is staggering; and then to consider that there are multiple layers up above that until we get to your brain understanding these words… mind-blowing.
The coolest example of science in your food?
You can tell where a tomato was grown—well, at least the latitude—by the ratio of various isotopes in it. It sounds crazy, but rainwater is not “pure” H2O; or more precisely, there are different isotopes of the “O” in “H2O” and the lighter one, 16O, is more likely to evaporate then the heavier one (takes less energy for it to take off). As you go toward the equator, evaporation rates in rainfall go up (it’s warmer, after all), so tomatoes grown toward the equator have higher concentrations of the heavier isotope 18O. The neat thing is that that ratio sticks with the food all the way down to the jar of fancy imported Italian pasta sauce, so you can semi-reliably tell where in Italy the tomatoes were grown if you look at enough of the various isotopes and minerals in it.
Your all-time favorite food ingredient?
I don’t really have a favorite food ingredient, but nothing beats fresh fruit at the peak of its season.
The food you find most fascinating?
Can I go with “beverages” as a general category? Everything from green tea to beer is amazingly complicated. Most food ingredients—apples to flour—are relatively unchanged from their “as-grown” state, but drinks are an entirely different category, as they’re entirely constructed.
Are there any analogies you like to use to explain difficult or counter-intuitive food science concepts?
Breaking of secondary and tertiary bonds in protein denaturation can be a bit confusing, as the “simple” model people have for molecules is that they’re made up of such-and-such atoms, without regard to the shape that the molecule takes impacts how it functions. I’ll sometimes describe the molecule as like an old-fashioned telephone cord (did I just date myself?), where the cord can twist up, kink, and tangle on itself.
Your best example of a food that is better because of science?
The egg. The amount of agricultural science and gains in productivity that have gone into chicken eggs in the past 100 years is just amazing. If the same “gains” had been made in humans, Olympic sprinters would be running at 65 miles per hour…
Your standard breakfast?
Depends on the time of year and where I am. Right now, in New England’s winter, yogurt with muesli, and then sautéed red onion, kale, garlic, two eggs, and a squeeze of lemon juice on top. If I feel like spending more than the two minutes it takes to make it, maybe some grated cheese on top.
How does your scientific knowledge or training impact the way you cook? Do you conduct science experiments in the kitchen?
I only cook on an amateur level, for myself and my friends; so for me cooking is a very ad-hoc thing, without too much fuss or worry about taking good, exact notes—but this is only because, generally speaking, I don’t need reproducibility of an entire dish! But I do perform little mini-experiments each time I cook. Take tonight (it’s after dinner as I write this)—I’ve been wondering why the tofu I’ve been cooking keeps sticking to the pan. It’s a stainless steel pan, and I put some oil in it—but it always seems to stick after it gets up above a certain temperature. I’m guessing it’s steam from the tofu pushing the oil away from the surface of the pan; and then the proteins in the tofu stick to the pan (and do not seem to release even when browned). I’ll probably kick myself later for writing this, as I’m guessing the “why” is simple here, but I was wondering if low heat versus high heat makes a difference… so I tried changing just that. Nope; still sticks. That’s the type of “mini” experimentation I love to encourage in the kitchen, because it doesn’t take any extra work to do it, beyond thinking about it.

Emulsions & Food Engineering

RutgersCourse

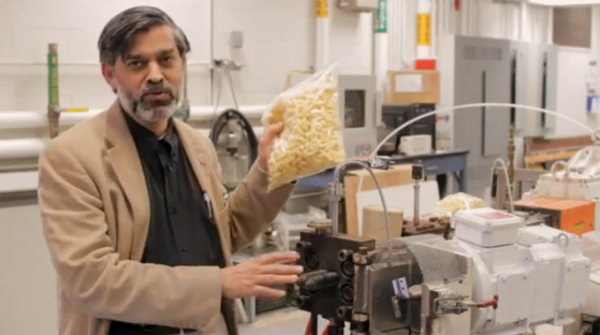
Rutgers Professors Rick Ludescher and Mukund Karwe explain the basic chemical principles of emulsions and introduce food engineering techniques like extrusion and high-pressure processing. If you’ll be on the East Coast this fall, be sure to check out Rutgers’ crash courses in food science and food safety. Read more

Boozy Apple Pie

On foraging for local ingredients in your college dormitory…

Our Judge’s Favorite winner of the 2013 Science of Pie event showed how beer and vodka affect pie crust color and texture. But they weren’t the only students who experimented with alcohol in their pies. Two other teams—Team Super Rum and the Beam Team—also used alcohol to create flaky, tender crusts. The Beam Team even added Kentucky bourbon whiskey (Jim Beam, of course) to their pie filling for an extra punch of flavor.

So why all the alcohol? According to the Beam Team:

“Our group was inspired by Alex Atala’s process of going out into the Amazon Forest and finding local plants to use as ingredients. As college students, we decided that our ‘native’ ingredient is alcohol since it is easily found in abundant quantities all around us, so we used our two favorite types of hard alcohol: whiskey and vodka.”

There’s another (more scientific) reason for boozing up a pie crust: alcohol creates a more tender, flaky crust than can be easily achieved with water alone. This happens because alcohol and water have very different effects on the formation of springy gluten networks in pie dough.

Gluten develops when two wheat proteins in flour, glutenin and gliadin, are mixed with water. Because parts of these proteins do not like to interact with water, the proteins begin to stick to each other much in the same way oil droplets come together when suspended in water. As a flour-water dough is mixed, the glutenin and gliadin molecules interact to form an extensive elastic network [1].

Gluten development during dough formation. Scanning electron micrographs of gluten networks during early (A), middle (B), and late (C) stages of dough mixing [2]. The development of these gluten networks requires water.

While gluten networks are great for chewy bread dough, they are less than ideal for flaky, tender pie crust. An ideal pie dough has as just enough gluten to hold everything in the dough together. And while gluten development can be minimized by adding only scant amounts of water and handling the dough as little as possible, this is easier said than done.

A more practical solution is to replace some of the water with a liquid that does not promote gluten formation. Unlike water, alcohol inhibits gluten formation. By interacting with the gluten proteins, alcohol molecules limit their ability to stick to each other and form springy networks [1]. Using alcohol in the place of water allows more liquid to be added to the dough while still restricting gluten formation. This results in a softer, more pliable dough that becomes tender and flaky when baked.

TeamSuperRum

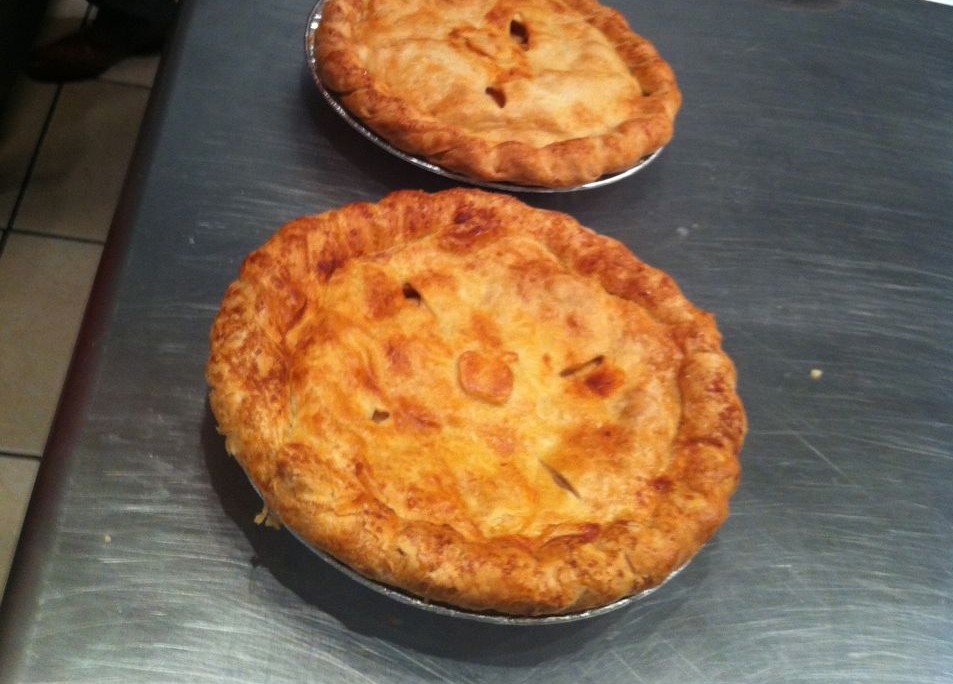
Team Super Rum serves their pie and presents their work at the Science of Pie even (left). Test pies made with rum pie crust (top right) or bourbon apple filling (bottom right).

Like the recipe below, the Beam Team paired a vodka pie crust with a decadent bourbon and apple filling. Although vodka is typically used for its subtle flavor, any type of alcohol will prevent gluten formation. As their name suggests, Team Super Rum used rum instead of vodka to create a flaky and uniquely flavored crust. And we bet there are many more delicious possibilities in the realm of alcohol-based pie crusts. If you try this recipe with something other than vodka, share your new pie crust concoction with us in the comments below!

Foolproof Vodka Pie Crust

Cook’s Illustrated, November 2007

2 1/2 cups (12 1/2 ounces) unbleached all-purpose flour
1 tsp table salt
2 tbsp sugar
12 tbsp (1 1/2 sticks) cold unsalted butter, cut into 1/4-inch slices
1/2 cup cold vegetable shortening, cut into 4 pieces
1/4 cup cold vodka
1/4 cup cold water

Process 1 1/2 cups flour, salt, and sugar in a food processor until combined, about 2 one-second pulses. Add butter and shortening and process until homogeneous dough just starts to collect in uneven clumps, about 15 seconds (dough will resemble cottage cheese curds and there should be no uncoated flour). Scrape bowl with rubber spatula and redistribute dough evenly around processor blade. Add remaining cup flour and pulse until mixture is evenly distributed around bowl and mass of dough has been broken up, 4 to 6 quick pulses. Empty mixture into medium bowl.

Sprinkle vodka and water over mixture. With rubber spatula, use folding motion to mix, pressing down on dough until dough is slightly tacky and sticks together. Divide dough into two even balls and flatten each into 4-inch disk. Wrap each in plastic wrap and refrigerate at least 45 minutes or up to 2 days.


Bourbon Apple Pie Filling

2 tbsp all-purpose flour
6 or 7 apples, mix of tart and sweet
1/3 cup sugar
1/2 tsp cinnamon
1/2 tsp nutmeg
1/4 tsp salt
1/2 cup bourbon whiskey
2 tbsp lemon juice
2 tbsp butter cut into small pieces

Preheat oven to 425. Place bottom crust in pie plate.

Peel, core, and halve the apples. Cut into 1/4-inch thick slices, about 7 or 8 cups.

In a 4 quart saucepan, whisk together sugar, flour, cinnamon, nutmeg, and salt. Whisk in bourbon whiskey and lemon juice until evenly blended. Cook over medium heat, whisking frequently until the mixture boils and thickens slightly. Add apples and stir until evenly coated. Continue cooking, stirring continuously, for 3 minutes. Set aside to cool, stirring once or twice for 20 minutes.

Pour apple mixture into the pie shell, mounding apples slightly in the center. Dot with butter and add the top crust. Cut several steam vents into top crust.

Bake 25 minutes at 425. Reduce temperature to 350 and bake 45 minutes longer or until crust is brown and juices are bubbling.

Serve warm or chilled with whipped cream or ice cream.


Online Resources

  1. Pie crust recipe from Cook’s Illustrated via Serious Eats
  2. Bourbon apple pie filling recipe adapted from Group Recipes


References Cited

  1. Technology of breadmaking (2007). 2nd ed. New York: Springer. 397 p.
  2. Amend T (1995) The mechanism of dough forming: Efforts in the field of molecular structure. Getreide Mehl Brot 49: 359–362.

Liz Roth-JohnsonAbout the author: Liz Roth-Johnson is a Ph.D. candidate in Molecular Biology at UCLA. If she’s not in the lab, you can usually find her experimenting in the kitchen.

Read more by Liz Roth-Johnson


10 More Things You Should Know About Pie

It’s summer. Berries and stone fruits abound, and so the season of pies continues. And we continue to think deeply about the science of pie. There has been intense interest in pies these past few months: first at the Science of Pie event; next at the World Science Festival’s Scientific Kitchen workshop at Pie Corps in New York; and most recently the New York Times Pie Issue. But we believe you can never know too much about pie. Here are 10 more things we think you should know…

WSFPieScience1

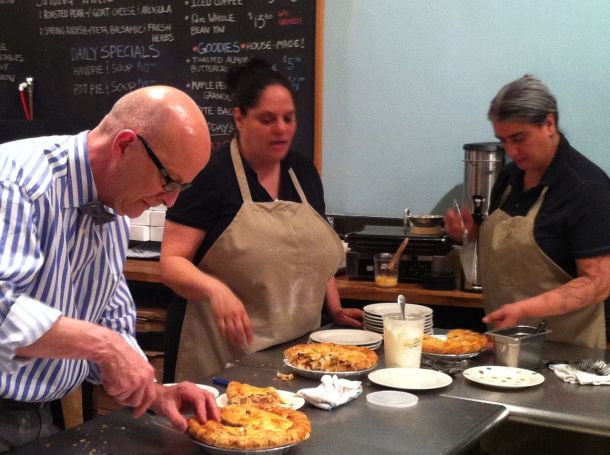
The World Science Festival’s Science of Pie workshop featured Amy Rowat with Pie Corps’ Cheryl and Felipa and special guest Bill Yosses, White House Pastry Chef and mastermind behind some of the best pies that Barack Obama has ever tasted. Here Cheryl, Felipa, and Bill dish out apple pie for the workshop participants.

WSFPieScience2

Science of Pie workshop participants deeply engaged in the science (and eating!) of pie.

1. A bit of high school chemistry goes a long way when baking pies.
The ideal gas law (PV=nRT) tells us that the volume of an air pocket gets bigger with increasing temperature. In the oven, molecules get more energy and start moving faster and faster, causing air pockets to get bigger and bigger; this can result in an inflated pie that collapses once you cut into it. At the same time, apples lose water, most of which gets converted to steam. Consider that a water molecule takes up about 1700 times more volume in the gas phase than in the liquid phase: if your crust were completely impermeable to water and all the steam got trapped inside, your pie would become much larger than your oven! Luckily much of that steam can escape through the crust and through steam vents. (This is also a good reason to be sure to avoid air pockets when you lay your crust into your pie tin!)

2. There is an art to cutting your fruit for a pie filling.
The way you cut your fruit is important. Smaller pieces of fruit will cook more quickly, but they also tend to lose more liquid since they have a higher surface-area-to-volume ratio. The geometry of your fruit pieces is also important for packing the filling into your pie. After placing your fruit slices into the center of the pie, pat them down to make sure they all like flat. This will create a pie with a lovely cross-section of layered fruits and, more importantly, will help to avoid air pockets that can expand in the oven.

3. Sometimes the best pie is a day-old pie.
Temperature is important for pie texture. Eating your pie the day after you bake it allows plenty of time for the pie to cool down and the filling to “set”. Because molecules flow more quickly past each other at higher temperatures, hot pie filling straight from the oven will be more runny; as the pie filling cools, starchy molecules like cornstarch and flour spend more time interacting with each other. As the pie cools, the pectin molecules of your fruit also spend more time interacting with each other. This results in a more solid, gel-like filling that will take longer to seep out of the pie when it is cut and served on a plate.

4. Think of butter as a gas.
Butter is really just a bunch of teeny tiny water droplets dispersed in a matrix of fat. In the oven, these water droplets convert from liquid to gas. This means that the chunks of butter you can see in your dough are really just big pockets of air waiting to happen. More air = flakier crust! While butters with the highest butterfat content are generally synonymous with the highest quality butter, when it comes to baking pie a slightly lower fat content, and higher water content, may be a good thing.

5. Wash with egg for a darker, more delicious pie crust.
All those lovely color and flavor molecules in a nicely browned pie crust are the result of the Maillard reaction, a chemical reaction that occurs between amino acids, which comprise proteins, and sugar molecules like lactose or glucose. Brushing an egg (protein) on your pie crust before baking is a great way to add extra color and flavor. For extra browning, mix some heavy cream into your egg wash (more protein plus lots of lactose).

WSFPieScience3

Look at all those Maillard reactions!

6. Turn up the heat!
Maillard reactions happen faster at higher temperatures. Keep your oven hot (375F or so) to brown your pie that extra bit more. Another strategy is to start off at 400F, then turn down the temperature to 350F.

7. Bake your pie in parts.
A major challenge in baking pie comes from its complexity: you’ve got a crust that should be brown and crisp together with a filling that largely contains water. When contending with fruit pie fillings, one strategy is to prebake the bottom crust to help prevent it from becoming soggy. In this process of “blind baking,” don’t forget to prick holes in the bottom of your crust so the water vapor can escape. Filling your pie crust with pie weights or dried beans during this process can also help prevent layers of your wanton bottom crust from puffing up. Pie master Bill Yosses suggests taking this sequential baking process an extra step further: after the bottom crust has baked, it can be stitched into the sides of a crust using extra dough to “glue” the bottom to the sides. In the spirit of experimentation, this could be an interesting new method to try.

8. Create a pie crust with your “perfect” texture.
Typical attributes of a “perfect” pie crust include: flaky, tender, brown, and a little crispy. While the optimal texture of a pie crust is a deeply subjective and personal matter, here is a rough guide to how you can tune your pie crust texture simply by considering how you work your fat into your flour. For taste, color, and texture, we prefer butter, but shortening or lard can also be used.

  1. You want your fat to be solid when working it into the flour. Remember those little chunks of fat will become pockets of air in your crust! In a liquid form, it would coat the flour too evenly, resulting in a less flaky crust.
  2. Because butter melts around 30–32 degrees Celsius (86–90F), it can be tricky to make sure it remains solid while you work it with your hands (about 35 degrees Celsius or 95F). Prior to making your dough, cut your butter into small 1 x 1 cm cubes and place in the freezer for about 10-15 minutes.
  3. For a crust that has more form and larger flaky holes, work your very cold butter into the flour until you have a distribution of butter pieces with various sizes: some should appear the size of peas, others the size of almonds. When you work your butter in to achieve these sizes of chunks, much of the butter will get worked in so the rest of the dough will appear as coarse wet sand.
  4. For a tender and flaky crust you need a decent coating of fat around your flour. To achieve this, try the two-step method: (i) Divide your butter in half: cut one half into small cubes, and keep the remaining half in stick form. Place both halves in the freezer to ensure they are very cold. (ii) Work the stick of very cold butter into your flour by grating it in with a coarse grater. Work in thoroughly with your hands until the mixture has the texture of a coarse sand. (iii) Add the remaining half of your butter in cubes and work in with your hands until the largest pieces are about the size of peas. The theory here is that completely coating the flour in oil helps create a more “tender” crust.
  5. If you want to avoid getting your hands messy, or want to minimize heating of your butter, use a pastry cutter, or two knives held side by side, to work the butter into your flour.

9. Different types of flour create different types of pie crust.
What flour is the best flour for pie crust? This is a contentious question that has a variety of answers depending on personal preference, but the type of flour you use can have a major effect on the final texture of your crust. The protein content of flour, based on the type of wheat the flour was made from, will affect the extent of gluten formation in your dough. While springy networks of gluten proteins are great for chewy breads (bread flour has particularly high protein content), they can make pie crust dense and tough. Flours with lower protein content, such as pastry flour or cake flour, will create less extensive gluten networks and can produce a more tender crust. However, the pie crust ultimately needs to be formed into a dough, which can make it a challenge to work with a fragile dough that can result when using a low-protein content flour.

10. Almond extract tastes great in a fruit pie.
What more can we say? Nuts and fruit taste great together! A bit of almond extract is a delicious complement to apples and apricots alike.

AppleFoodPairing

And it’s not just almonds—lots of fruits and nuts go great with apples. This food pairing map from www.foodpairing.com is full of interesting flavor combinations.


Amy RowatAbout the author: Amy Rowat is a professor at UCLA. She began experimenting with food as a toddler and continues to research soft biological matter in the lab and kitchen.

Read more by Amy Rowat


Chemophobia & The Myth of MSG

MythOfMSG

Chemistry professor Michelle Francl challenges our culture of chemophobia, while Harold McGee addresses some common misconceptions about “Chinese restaurant syndrome” and MSG. Read more

Simple Vegan Strawberry Shortcake

BirthdayCake

With increasing numbers of people embracing dietary-restricted, vegetarian, and vegan lifestyles, birthday parties are becoming more complex. Consider the simple birthday cake. Everyone should be able to partake in its delicious sugary goodness; however, this can prove difficult. Specifically, how can you bake a cake if you cannot use one of the most important components, eggs? Read more