
Image Credit: (46157135@N06/flickr)
If you spent a single day at the county fair this summer, you’ll agree that the ferris wheels, petting zoos, and live music were all worth the visit. But the most exciting attraction? Fair food.
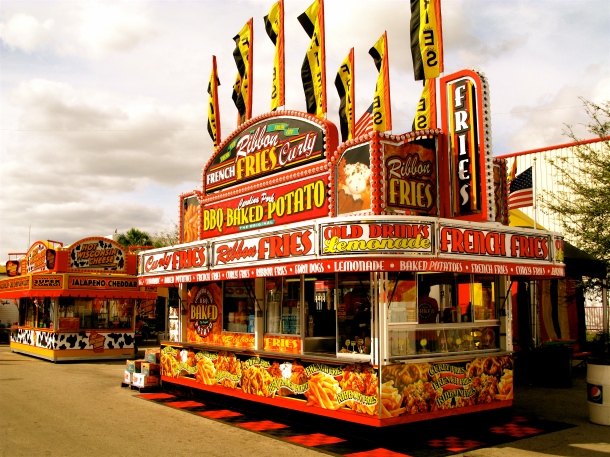
Image Credit: (jerkalertproductions/flickr)
There are the classics – corn dogs, ice cream, funnel cake – but each year brings new, wacky, unbelievable, and outrageous food creations that only seem justified to consume on a hot carefree summer day at the fair. Many of this year’s jaw-dropping creations were made with the ever so popular method of deep-fat frying.
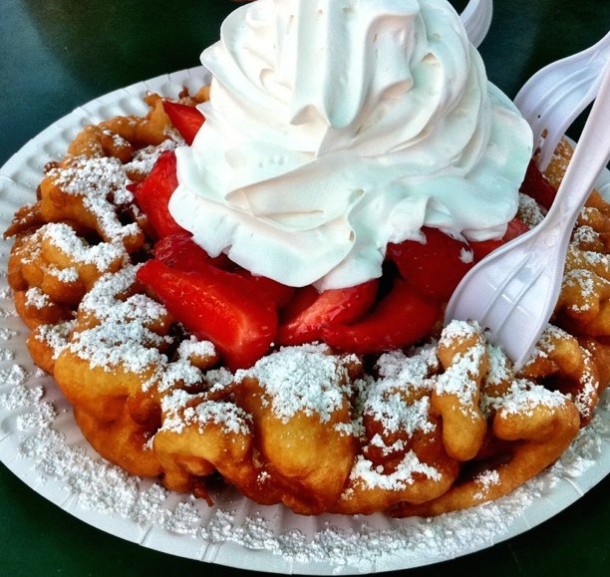
Classic Funnel Cake. Image Credit: (angryjuliemonday/flickr)
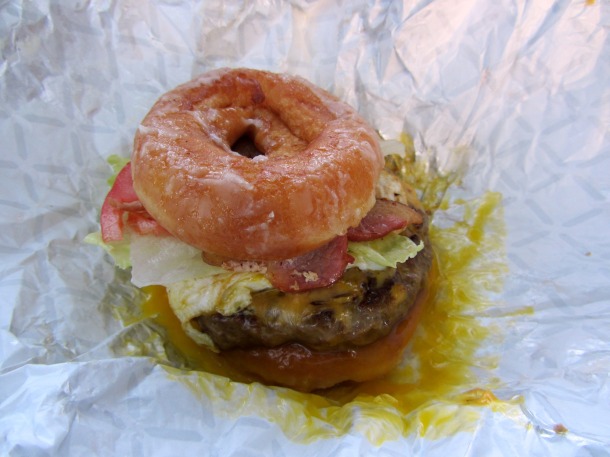
Krispy Kreme Donut Cheeseburger.
Image Credit: (loozrboy/flickr)
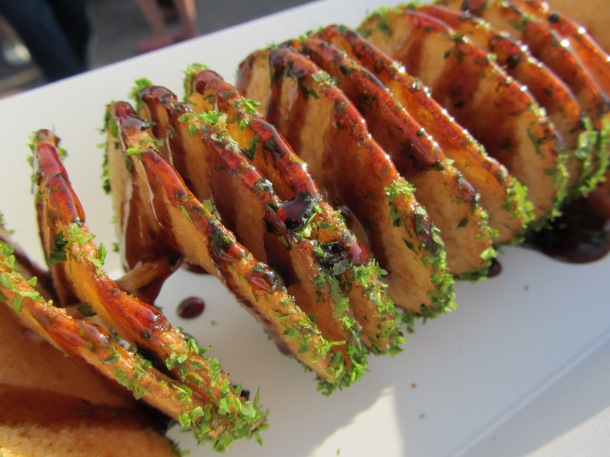
Fried Tornado Potato.
Image Credit: (loozrboy/flickr)

Fried Moon Pie.
Image Credit: (davidberkowitz/flickr)
Why do deep-fried foods taste so good?
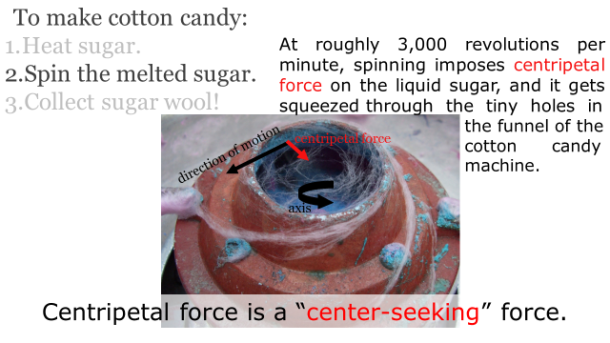
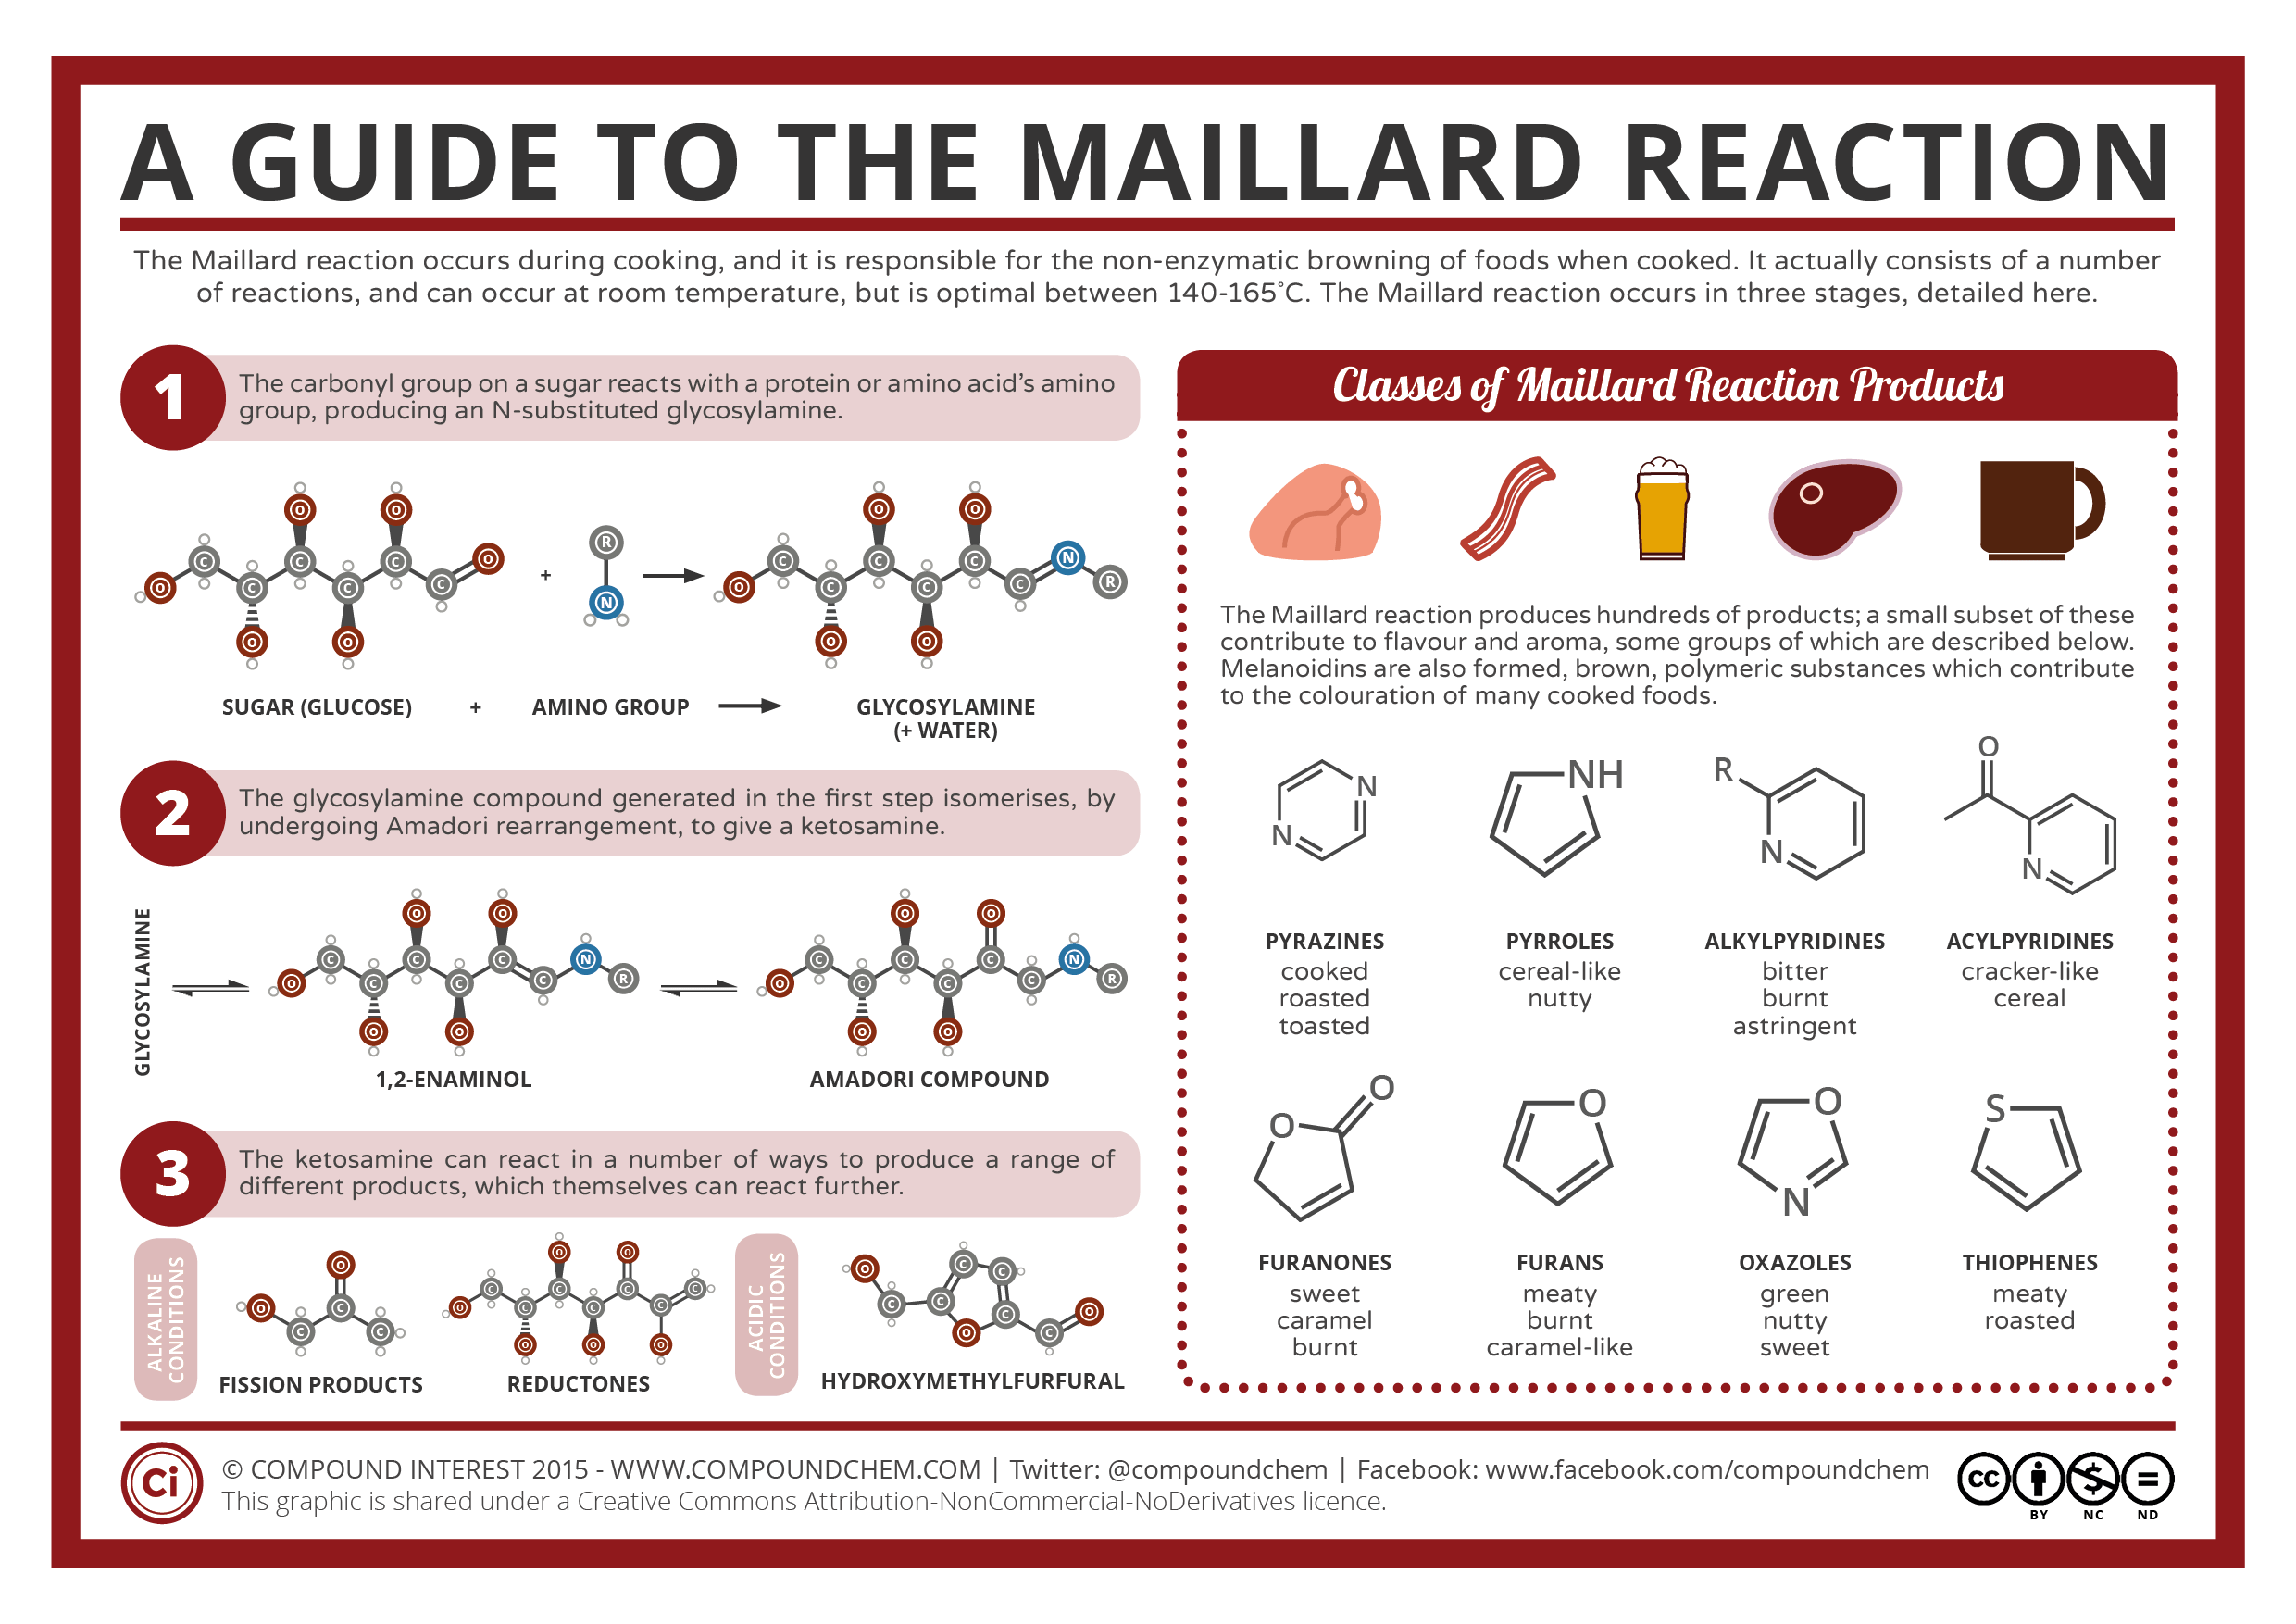
Various chemical and physical changes occur in deep-frying, including the Maillard reaction, which causes the aromatic browning to occur on the crunchy crust of a deep-fried treat. But first, a series of complex processes involving heat and mass transfer must occur between the food and the frying oil.
The process of deep-frying can be divided into four stages: (1) initial heating, (2) surface boiling, (3) decreasing heat transfer rate, and (4) bubble end point [1]. I will henceforth refer to the item being fried as “the food”, whether it’s a Twinkie, or Potato Chips, or Onion Rings, or Bacon-Wrapped Something On-a-Stick.
(1) Initial heating. In the first stage, the food is completely submerged into the hot oil, until the surface of the food reaches the boiling point of water. This stage lasts for about 10 seconds [1]. At this point, the heat from the oil is transferred to the food’s surface by diffusion and also by convection – a process which moves heat due to the bulk circulation of the oil’s currents from a warmer region to the cooler region surrounding the food. While convection uniformly heats the food’s surface, it doesn’t cook the center of the food. Rather, the food’s center is heated through conduction, the process by which heat diffuses from the food’s hot surface into its core through the physical contact of molecules and transfer of their thermal energy. Therefore, convection efficiently heats the food’s surface to facilitate the conduction that actually cooks the inside of the food [2].
(2) Surface boiling. In this stage, we see tiny exploding bubbles sizzling at the surface of the food. Contrary to popular belief, this doesn’t mean that the oil is boiling. Instead, the hot oil surrounding the food causes water inside the food to evaporate, so the little bubbles surface as bursts of steam escaping to the food’s exterior (think jacuzzi steam jets). The movement caused by the bubbling circulates the currents of the frying oil, which increases the rate of heat transfer by “forced convection” and cooks the food faster [1].
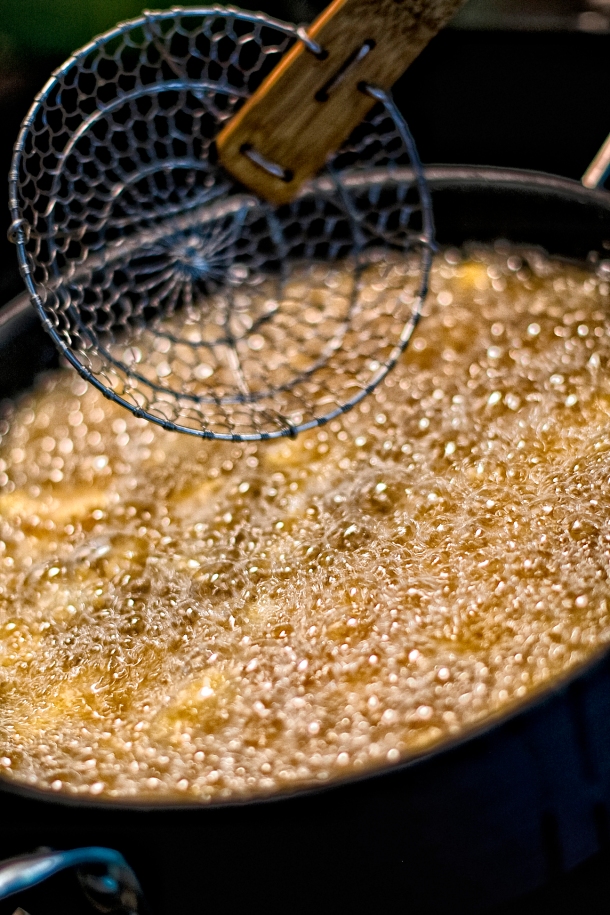
Image Credit: (tibbygirl/flickr)
These steam bubbles are important because they form a “steam barrier” around the food that repels the oil at the surface and prevents the oil from diffusing into the food, which would otherwise turn your crunchy fried treats into a soggy, greasy mess [4]. As the moisture leaves the food, the deep-fried crust we know and love begins to form!
(3) Decreasing heat transfer rate. As the crust continues to dehydrate, it conducts less heat to the rest of the food, so the rate of heat transfer through escaping steam to decreases (reduced bubbling) [1]. The remaining moisture inside of the food is slowly heated to the boiling point of water, which cooks the food inside as if it were boiled, gelatinizing the starch and denaturing the proteins in the food [3]. Now, most of the moisture from the food is lost.
(4) Bubble end point. This is the last stage of deep-frying, in which very few bubbles appear on the surface of the fried food. At this stage, water from inside the food is no longer evaporating, either because all the water from inside the food is gone, or heat transfer from the crust to the core has reduced to the point where it becomes improbable that the water will evaporate [1]. At this point, the fried product should to be removed from the oil, or else the oil will begin to seep into the fried product and make it soggy, since there are no more water vapor bubbles to counteract the diffusion of oil inwards.
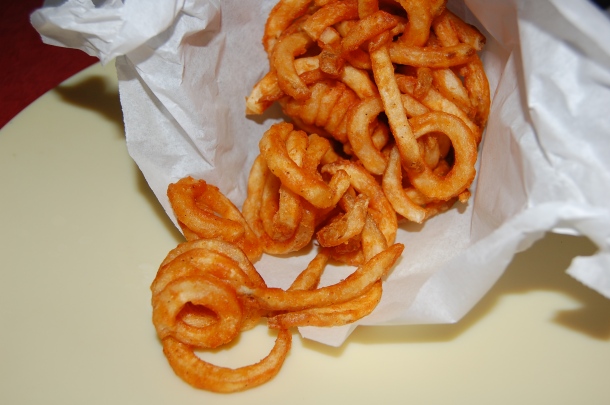
Image Credit: (alexandratx/flickr)
Fried ice cream? Fried pizza? Fried Nutella? Armed with the science of deep-frying, the real question is, what can’t you fry?
References Cited:
- Farkas, B.E., Singh, R.P., Rumsey, T.R. Modeling heat and mass transfer in immersion frying. I, Model development. Journal of Food Engineering. 1996; 29(2): 211–226.
- Zimmerman, B. Heat Transfer and Cooking. Cooking for Engineers, [Online] June 2007.
- Alvis, A., Velez, C., Rada-Mendoza, M., Villamiel, M., Villada, H.S. Heat transfer coefficient during deep-fat frying. Food Control. 2009; 20: 321–325.
- Greene, A. Back to Basics: The Science of Frying. Decoding Delicious, [Online] May 2013.
 About the author: Eunice Liu is studying Linguistics at UCLA. She attributes her love of food science to an obsession with watching bread rise in the oven.
Read more by Eunice Liu


