Maple Syrup

Photo credits: flickr/Doug
Nothing sets the tone for a drowsy Sunday afternoon like a breakfast that features maple syrup. This sticky and wonderful syrup fills the nooks and crannies of our nation’s waffles with the taste of autumn and the smell of Canada. Let’s take a moment to appreciate the science that makes maple syrup and its confectionery relatives the crown jewel of breakfast condiments.
Generally, syrups are made by extracting sap from plants and boiling them down so they become a more concentrated and viscous liquid. The sugar maple tree, Acer saccharum produces the sap that can eventually become maple syrup, as it produces sap in greater quantities than other maple varieties.

Optimal conditions for sap harvesting involve extreme temperature fluctuations from day to night. The northeastern United States and eastern Canada, of course, have just the night-day temperature shifts to produce quality maple sap. The traditional sap-seeker drills a small hole into the cambium, or woody tissue, of a maple tree, and inserts a spout. On warm days when temperatures are above freezing, the liquid sap expands and creates positive pressure in the xylem – the plant version of veins; this pressure pushes sap out of the tap hole and into the collection vessel. When night falls and temperatures drop below freezing, sap contracts as all liquids do when chilled. As the sap contracts, this creates negative pressure, which sucks water from the soil into the roots and the tree; this replenishes the sap that has bled out of the tap hole.
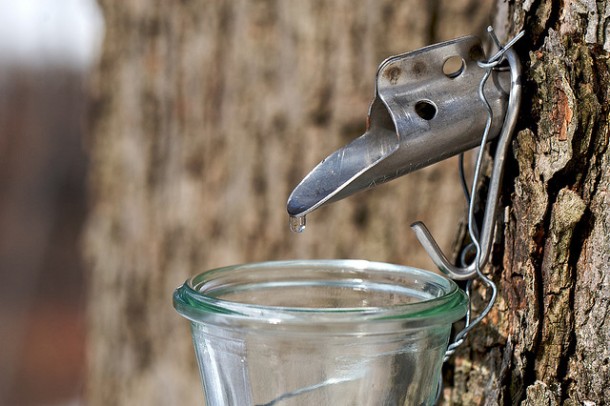
Photo Credits: flickr/Chiot’s Run
After harvesting, the harvested sap is boiled down until it has a viscosity of about 150-200 centipoises – a viscosity very similar to that of motor oil. When the liquid has reached this consistency, it has undergone a 40x reduction in volume. The resulting syrup is approximately 62% sucrose, 34% water, 3% glucose and fructose, and 0.5% malic acid, other acids, and traces amounts of amino acids. The distinct and lovely aromatic notes of maple come from wood byproducts like vanillin, other products of sucrose caramelization, and products of Maillard reactions between the plant sugars and the amino acids.

Photo Credits: flickr/LadyDragonflyCC
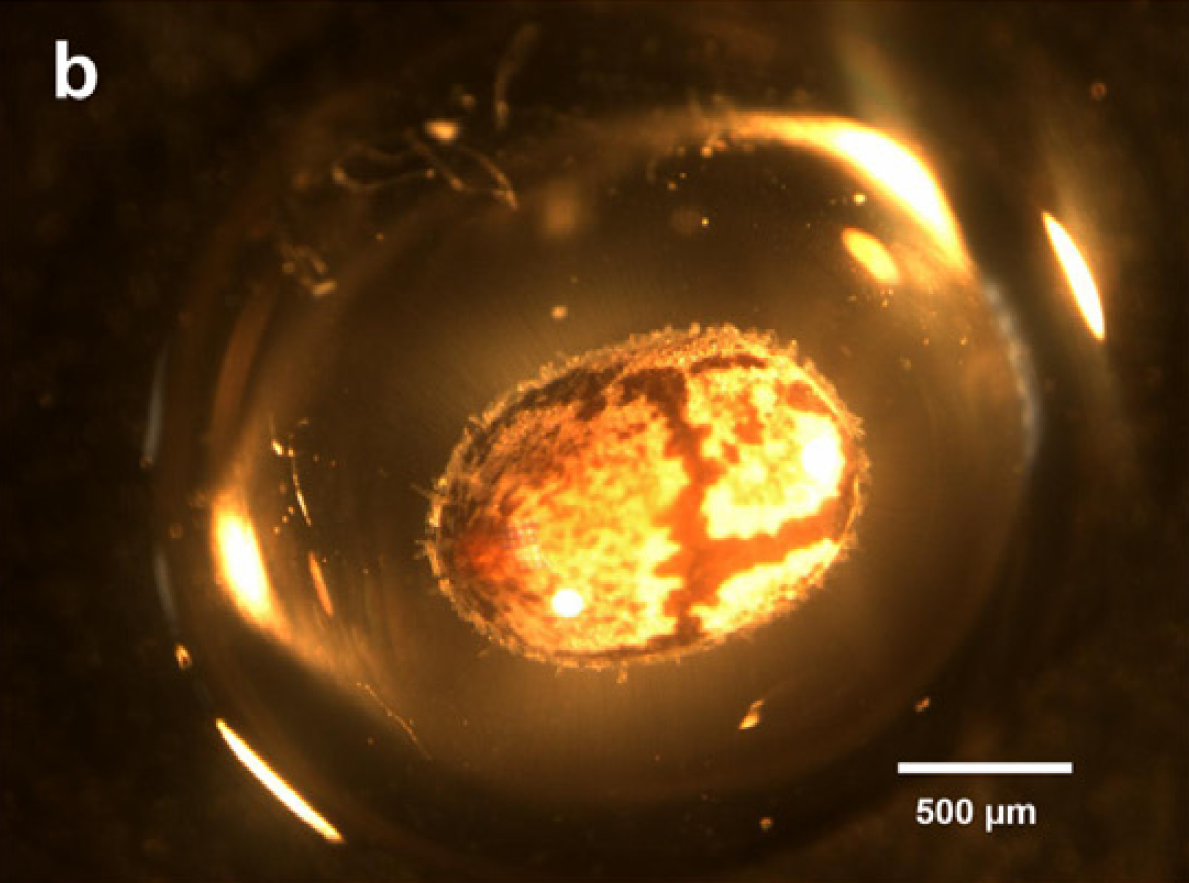
Another delectable treat from Northern climates is maple sugar. Maple sugar is made by boiling maple syrup (which has a boiling temperature 25-40°F above the boiling point of water, but varies with altitude) to increase sucrose concentration, then letting the syrup cool. Left alone, the sucrose accumulates into coarse crystals that are thinly coated with the remainder of the syrup. Simply put, maple sugar is plain table sugar with a natural coating of maple flavor.
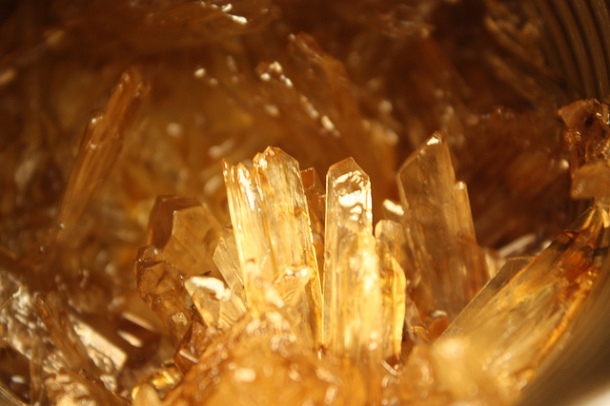
Photo Credits: flickr/cdn-pix
A luxury to smear on your toast or pancake, maple cream is surprisingly simple to make, and despite its name, doesn’t contain any dairy. This delicious creamy spread is a malleable mixture of very fine crystals that are dispersed in a small amount of syrup. Maple cream is made by cooling maple syrup rapidly to 70°F by immersing its container in ice water, then beating it continuously until it becomes very stiff; thereafter it is warmed until it becomes smooth and has the texture and viscosity of a runny buttercream frosting.

Photo credits: flickr/ Anne White
One last note on maple syrup – beware of imposters! If the bottle doesn’t say maple syrup, it is not maple syrup. Breakfast or pancake syrup disappointingly consists of corn syrup and artificial flavors.
Works Cited
- “Learn about the Science of Maple Syrup.” Cary Institute of Ecosystem Studies. N.p., 24 Mar. 2013. Web. 25 Nov. 2015.
- McGee, Harold. “Sugars and Syrups.” On Food and Cooking: The Science and Lore of the Kitchen. 1st ed. New York: Scribner, 2004. N. pag. Print.
- “Viscosity Comparison Chart.” Viscosity Comparison Chart. The Composites Store, n.d. Web. 25 Nov. 2015.
 About the author: Elsbeth Sites received her B.S. in Biology at UCLA. Her addiction to the Food Network has developed into a love of learning about the science behind food.