Tag Archive for: crystallization

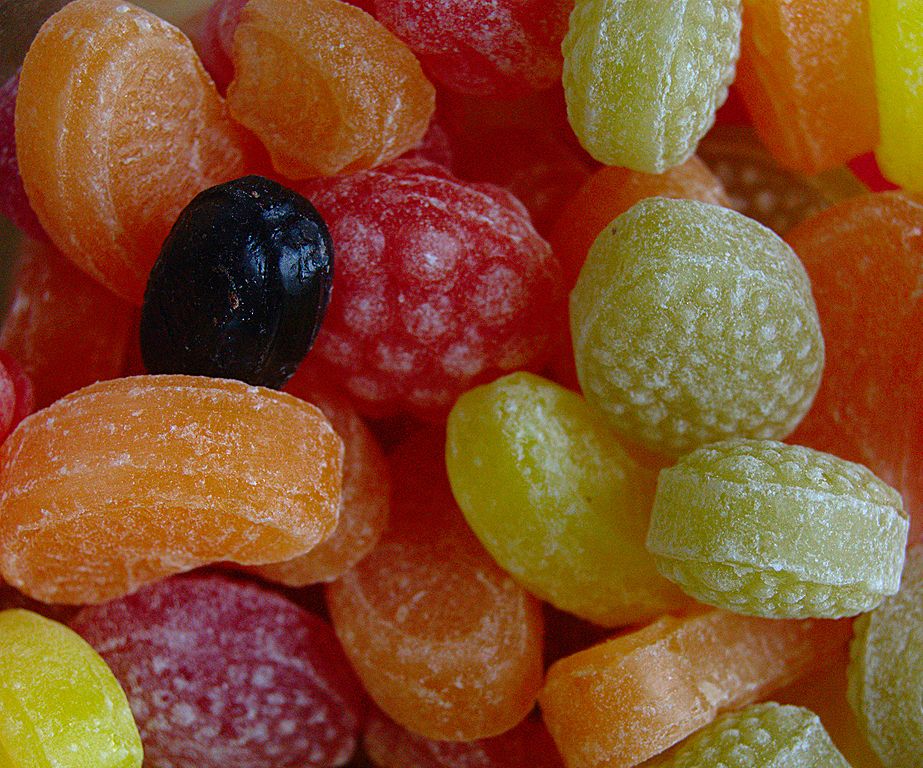
Sugar Chemistry of Hard Candies

Photo Credit: Adam Zivner (Wikimedia Commons)

Photo Credit: Adam Zivner (Wikimedia Commons)

Old-fashioned candy-making is a fascinating spectacle, if one ever gets the opportunity to watch. Fortunately, the Internet is full of videos like this one, which shows how hard candies (specifically, candy canes) are made by hand:

The process that turns ordinary, granulated table sugar into solid, glassy, hard candy is as dynamic on a molecular level as it is captivating to watch on an observable scale.

As a dry ingredient, table sugar comprises granules of sucrose crystals. Transforming these granules into a solid piece of candy begins by dissolving sugar—lots of sugar—in water. When stirred into water, the granules break apart into individual sucrose molecules. Hard candy recipes typically call for 2.5–4 parts sugar in 1 part water. However, sucrose has a solubility of only 2000 g/L, which is roughly 2 cups sugar in 1 cup room temperature water [1]. This is easily remedied by turning up the heat; sucrose solubility increases with temperature, meaning much more sugar can be dissolved in hot water compared to cold or room temperature water.

Boiling a mixture of sugar and water does more than simply allow larger volumes of sucrose to dissolve in water. As the temperature of the sugar solution rises, water evaporates and leaves behind the sugar in its molten form. This creates a very concentrated sugar solution. Different sugar concentrations correspond to different types of candies (Table 1). In the case of hard candy, confectioners and professional candy-makers typically bring the boiling sugar solution to about 150°C (302°F) before removing it from the heat.

Table 1: Stages of Sugar Cooking (Adapted from Crafty Baking.)

Stage Temp (°C/°F) Sugar conc. Candy examples
Thread 110-112/230-234 80% Sugar syrup, fruit liqueur
Soft ball 112-116/234-241 85% Fudge, pralines
Firm ball 118-120/244-248 87% Caramel candies
Hard ball 121-130/250-266 90% Nougat, toffee, rock candy
Soft crack 132-143/270-289 95% Taffy, butterscotch
Hard crack 146-154/295-309 99% Brittles, hard candy/lollipop
Clear liquid 160/320 100%
Brown liquid 170/338 100% Liquid caramel
Burnt sugar 177/351 100% Oops…

At this point, the sucrose has been concentrated to such a degree that it is considered supersaturated. Supersaturated solutions are unstable, in the sense that any type of agitation, such as stirring or bumping, will trigger sugar crystallization: sucrose molecules will transition out of the molten liquid solution into a crystalline, solid state [2]. Think of sucrose molecules as Legos; crystallization is the process of these molecules locking together into a solid structure. It may not seem like it, but crystallization is a big no-no in hard candies.

In broad terms, candies are categorized as crystalline or non-crystalline. Crystalline candies, such as fondants, fudges, and marshmallows, are soft, pliable, and creamy thanks to their sucrose crystal structures. Conversely, non-crystalline candies are firmer and include toffees, caramel candies, brittles, and hard candies. Unwanted crystals in these candies create a grainy, even gritty, candy texture. Hindering the crystallization process is crucial for making a successful batch of hard candies.

This is where corn syrup, another key candy ingredient, plays an important role. Corn syrup consists primarily of starch, which is nothing more than a string of sugar (glucose) molecules linked together. When heated, the starch breaks apart into its glucose components. These glucose molecules are smaller than sucrose and can impair crystallization by coming between the sucrose molecules, ultimately interfering with crystal formation [2]. In some recipes, invert sugar or honey may be added in lieu of corn syrup. Invert sugar and honey are both mixtures of glucose and fructose, which impede sucrose crystallization the same way as corn syrup.

During the final stages of candy-making, the sugar solution is poured onto a cooling table. As it cools, it takes on a more solid, plastic-like mass that is still very pliable. Flavors and dyes are added at this stage. Sometimes an acid, such as citric acid, is also added. These acids further prevent sucrose crystallization by hydrolyzing sucrose molecules into their basic components: glucose and fructose. The sugary mass is then aerated, often by rolling, pulling, or folding, so that it cools down quickly and becomes more solid. This is the creative stage in which the candy-maker kneads, rolls, molds, and cuts the candy into its final shape.

Hard candy is ready to eat once it cools down to and hardens at room temperature. At its completed stage, hard candy is similar to glass: it’s an amorphous solid that is shiny, rigid yet fragile, and sometimes transparent.

Who knew such simple, little candies could be so complex?

References cited

  1. Sucrose, International Chemical Safety Card 1507, Geneva: International Programme on Chemical Safety, November 2003.
  2. Ouiazzane, S., Messnaoui, B., Abderafi, S., Wouters, J., Bounahmidi, T. Modeling of sucrose crystallization kinetics: The influence of glucose and fructose. Journal of Crystal Growth, 2008; 310: 3498–3503.

Alice PhungAbout the author: Alice Phung once had her sights set on an English degree, but eventually switched over to chemistry and hasn’t looked back since.

Read more by Alice Phung


Fancy Chocolate Treats

Photo credit: Jesús Rodriguez (hezoos/Flickr)

Photo credit: Jesús Rodriguez (hezoos/Flickr)

Chocolate-covered strawberries have an innate beauty in their simplicity, making this snack both sweet and decadent. But this gourmet treat does not have to be expensive nor only savored at special events. Although it’s not quite as simple as dipping strawberries into soupy chocolate sauce, you can easily make chocolate-covered strawberries in your very own kitchen with a basket of strawberries, a bag of chocolate, and a little patience.

To perfect the crafting of chocolate-covered strawberries, it helps to first consider the composition of chocolate. Chocolate contains only a few ingredients: fat, sugars, proteins, and soy lecithin as emulsifier that holds everything together [1,2]. Cocoa butter, a fat that is derived from cocoa beans, makes up the majority of chocolate. Like many vegetable fats, cocoa butter is a mixture of fatty molecules called triacylglycerols. Different types of triacylglycerols—saturated, monounsaturated, polyunsaturated—have their own thermal and structural properties. Roughly 80% of cocoa butter are monounsaturated triacylglycerols [3]. The secret to chocolate perfection lies in the microscopic arrangement of these molecules. The texture (smooth vs. lumpy), appearance (glossy vs. dull), and melting temperature of chocolate (in your mouth at 98°F vs. in your hand at 82°F) all depend on how triacylglycerols pack together in the finished chocolate product.

Triacylglycerols are elongated, spindly molecules that can be packed together in different ways, sort of like long, skinny Legos. The three main ways that triacylglycerols can pack together are named α, β’, and β [3]. A pure mixture of triacylglycerols will form the most stable structure, β [4], and quality chocolate that is hard, smooth, and shiny will predominantly contain this β structure. Unfortunately, cocoa butter isn’t purely one type of triacylglycerol: while the 80% monounsaturated triacylglycerols will tend to pack together nicely into perfect β structures,  the other 20% of cocoa butter fat molecules can interfere and lead to less stable α or β′ structures. As shown in Table 1, chocolate can take on different combinations of α, β′, and β structures, categorized in order of increasing stability as crystals I-VI [2,3]. Crystal V possesses only the β structure, and so it boasts the most desirable chocolate characteristics, such as good sheen, satisfying snap, and melt-in-your-mouth smoothness.

Table 1. Properties of chocolate crystals (adapted from [2]).

Crystal Structure Melting Temp (°F) Chocolate Characteristics
I β′sub(α) 63 Dull, soft, crumbly, melts too easily
II α 70 Dull, soft, crumbly, melts too easily
III β′2 79 Dull, firm, poor snap, melts too easily
IV β′1 82 Dull, firm, poor snap, melts too easily
V β2 93 Glossy, firm, best snap, melts near body temp
VI β1 97 Hard, takes weeks to form

Unfortunately, getting chocolate to form the desired crystal type is easier said than done. When chocolate is melted and then left alone to re-harden on its own terms, uncontrolled crystallization occurs: any and all of the six crystal types will form at random. Chocolate that has been allowed to set this way ends up clumpy and chalky. To control crystallization and select for crystal V, the chocolate must be tempered. Through the tempering process, chocolate is first heated to 110-130°F to melt all the different crystal types. Most importantly, the temperature has to be higher than 82°F to melt the inferior crystals I-IV. Melted chocolate is then cooled down by adding “seeds” of chocolate that already contain only crystal V. These seeds are usually just pieces of chocolate that has already been tempered. Any piece of chocolate—chips, buttons, or chopped— can be used, as the majority of chocolate on the market has already been tempered. These seeds slowly cool the melted chocolate and act as a molecular template from which additional crystal V structures can grow [3]. As the chocolate cools, the stable crystal V will come together into a dense, even network, creating that lustrous, firm chocolate coating.

But beware: a drop of water can ruin all that hard work and perfectly tempered chocolate by causing it to seize. During the manufacturing process, water is removed from the chocolate, leaving behind a blend of fats and sugars. Introducing water to melted chocolate causes the sugar molecules to clump together in a process known as seizing [1]. These wet, sticky sugar clusters result in a grainy, thick batch of chocolate.

Seizing can happen when chocolate is melted in a double boiler, as water from the steam can get into the chocolate. It can also happen when pockets of chocolate are accidentally burnt. Burning is a chemical reaction that oxidizes the fats and sugars to produce carbon dioxide and water. Water that forms in the burnt pockets of chocolate will cause the rest of the batch to seize. But have no fear! Seized chocolate is not completely ruined: it can be saved by adding even more water or other liquids such as cream. Though it may seem counterintuitive, adding more water actually dissolves the sugar clumps, breaking them apart so that the chocolate can become smooth and creamy again [1]. Unfortunately, because there is now moisture in the chocolate, it will not dry and harden into a chocolate shell anymore. Chocolate rescued in this way can be used for hot chocolate, icings, fillings, or ganaches, which means you can still make an impressive chocolate treat even if the chocolate-covered strawberries don’t work out.


Chocolate-Covered Strawberries

1 lb. strawberries
16oz milk chocolate chips
Thermometer (optional, but would be helpful)

1. Melt half to two-thirds of the chocolate chips…

…In a double boiler: Stir constantly. Be sure steam doesn’t escape and sink into the chocolate. Do not cover.

…In the microwave: Heat on high 1 minute. Do not cover. Remove from the microwave and stir. If all the chocolate has not melted, heat again for 5-10 seconds. Repeat until completely melted
Note: If possible, avoid using a heat-retaining container like glass, which may burn the chocolate. Plastic is preferred.

2. Once completely melted, carefully continue heating until the temperature is 90-95°F.

3. Remove from heat, then add chocolate chips. Stir until the chips have melted and the chocolate is 82-88°F.

4. To test if the chocolate is ready, spread a thin layer on the back of a spoon or a piece of paper. It should harden in less than 3 minutes. If it doesn’t, stir in more chocolate chips.

5. When the chocolate is ready, carefully dip in strawberries. Make sure the strawberries are dry, before dipping. Allow dipped strawberries to dry on a sheet of parchment paper.


References Cited

  1. Corriher, S. Chocolate, Chocolate, Chocolate. American Chemical Society: The Elements of Chocolate. October 2007; <http://acselementsofchocolate.typepad.com/elements_of_chocolate/Chocolate.html>
  2. Loisel C, Keller G, Lecq G, Bourgaux C, Ollivon M. Phase Transitions and Polymorphism of Cocoa Butter. Journal of the American Oil Chemists’ Society. 1998;  75(4): 425-439.
  3. Rowat A, Hollar K, Stone H, Rosenberg D. The Science of Chocolate: Interactive Activities on Phase Transitions, Emulsification, and Nucleation.  Journal of Chemical Education. January 2011; 88(1): 29-33.
  4. Weiss J, Decker E, McClements J, Kristbergsson K, Helgason T, Awad T. Solid Lipid Nanoparticles as Delivery Systems for Bioactive Food Components. Food Biophysics. June 2008; 3(2): 146-154

Alice PhungAbout the author: Alice Phung once had her sights set on an English degree, but eventually switched over to chemistry and hasn’t looked back since.